Char what?!

A quick google search can produce the meaning and pronunciation… shar-ku-tuh-ree. From what I found, it’s a French term, that means the art of preparing and assembling cured meats and other meat products. What I already know is that they are delicious! Haha.
My sister has been making these for several years for Christmas or birthday’s. She makes smaller versions almost weekly for her and her kids at home as well, and they are ALWAYS a hit. They don’t tend to last very long 😉 .
Read my Privacy and Disclosure policy to learn more https://oursimplegracioushome.com/privacy-policy/

Lately I’ve noticed them more and more on pinterest as well. Whether or not that’s because our phones can read our minds or not, I’m not sure, that’s another discussion. Haha. I had never made a Charcuterie board myself so I knew I wanted my sister’s help to put together a little “how to” for a blog post. What better reason than for Valentines Day? It’s a lower key holiday. By that I mean no large get togethers (not that we can have them at the moment anyway), so less pressure. These would be perfect for a small gathering or you can make it even smaller if it’s just for a date night.
The board we used is 18 inches round. Perfect size for 6-8 people for nibbling at for an evening in. ( This is probably where I shouldn’t note that fewer than 8 of us devoured this one in a couple hours) haha. They are that good! You can adjust your size of course for more or less people. They are not typically cheap. This one cost us about $100 to put together.
Tips to put together your own charcuterie board at home:
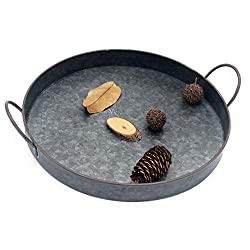
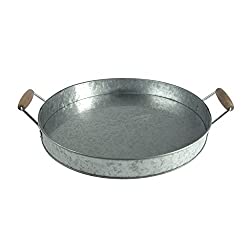
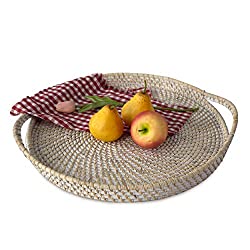
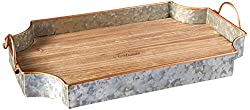
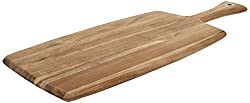
- Look around your home for a tray or cutting board as the base. (the one we used has a bit of an edge to keep things from falling off. Wooden cutting boards of all different shapes and sizes would work too. (See some of my other ideas at the bottom of this post).
- Pick your base tray depending on how many people you plan on making it for. The one we used as I said was 18 inches and would be good for 6-8 people.
- Look for small bowls or dishes to put dips and soft cheese in.
- Consider any allergies of your guests. The one we made does not have tree nuts for example as I have an allergy.
- Also consider the age of the people you are making it for. For example, if it’s for teenagers say, maybe pick more commonly preferred cheeses or have a variety of things your guests may like.
- If there are kids who will be eating, consider adding some items they will like as well, like candy or even just some plain cheddar cheese, and maybe even goldfish crackers ;).


Since this board was being made with Valentines Day in mind, besides the usual variety of meat, cheese and crackers, we went to the grocery store with a few other ideas in mind:
These are just ideas to get you started!
- We looked for food that had some red/white/pink (to continue the Valentine theme).
- Cheese that we were able to cut with a heart cookie cutter (sliced mozzarella).
- A little bit of chocolate ( we had dark chocolate hummus as well as chocolate bars that we cut up).
- Garnish (we used mint leaves)
- A variety of both plain and flavored crackers. We also picked up a baguette.
- Variety of sliced meat. ( I would suggest picking a couple of your favorites but to also try something new).
Some of our favorite items were the cranberry cinnamon goat cheese. It was soooo delicious! I really liked the dark chocolate hummus dip with the pretzel crackers. There also ended up being a few items that we didn’t use. (Mostly because we forgot about them haha).


We prepped ahead what food we could and then kept it chilled in the fridge until we were ready to assemble to board.
Some ideas for a visually appealing presentation:
- 3-4 strawberries were cut so they could “fan” out. For this just place the strawberry with the stem side down, pointed tip up and make tiny cuts down the length of the berry until you “almost” reach the stem. ( You can see the result in the photo below).
- We piped out the hummus into the serving dish with a cake decorator bag.
- Cut the mozzarella with a heart shaped cookie cutter.
- Cut the pepperoni sticks on a slight angle.

You can arrange the board however you like but Robyn likes to arrange it so that no matter what side of the tray you are standing on you have an option to choose either meat, cheese, crackers, or sweets. Also, you should start with the larger items, leaving the small items and garnish until the end.


She started with placing the bowls with the dip in them. ( We forgot about the chocolate hummus so we added it at the end). Then arranging the crackers in deliberate but hap-hazzardly rows on 3- 4 separate areas of the tray.


The prosciutto and the other flat pepperoni we simply squished it together to make it look like ruffles.

Add the meat to the empty areas of the tray. We kept each item grouped together on the board, to me that keeps it less busy looking.


Continue adding the larger food items around the tray into the open areas.

Once all the areas of the tray are filled in, then you can start to add the smaller items, like this garnish. We added some mint garnish as well to the goat cheese along with some pomegranate seeds. ( Are they called seeds? )


Draping some of the items over the side is also more visually appealing than if everything was within the sides of the board.


Pair this with your favorite wine or drink for a cozy Valentines evening in with your significant other or have a few friends over for a game night. This would also be so fun for a girls night!
One of my favorite wines is the Jacobs Creek double barrel. It’s the darker bottle in the photo above. If you like dry red wine give this one a try.

Thanks so much for stopping by today. And thanks so much to Robyn for helping out!
If you make one of these at home, be sure to tag me in your post on Facebook or instagram!
Have a great weekend!



2 Comments
-
-
Comments are closed.Looks yummy very well presented. I also love cranberry goat cheese.
This all looks so lov