Happy Friday all! How was everyone’s week?
Mine was a little busy but not too bad, if you see me falling asleep with my head in my coffee cup anywhere in the next few weeks, don’t worry. Haha. I’m just trying to get All. The. Things. Done. Maybe I should write a post about trying to be more productive and get more done. But that would mean I would have to figure out how to do that first! 🤔 haha. That is not why I’ve been working on today’s post situs slot777, so I’ll try to get back on topic…

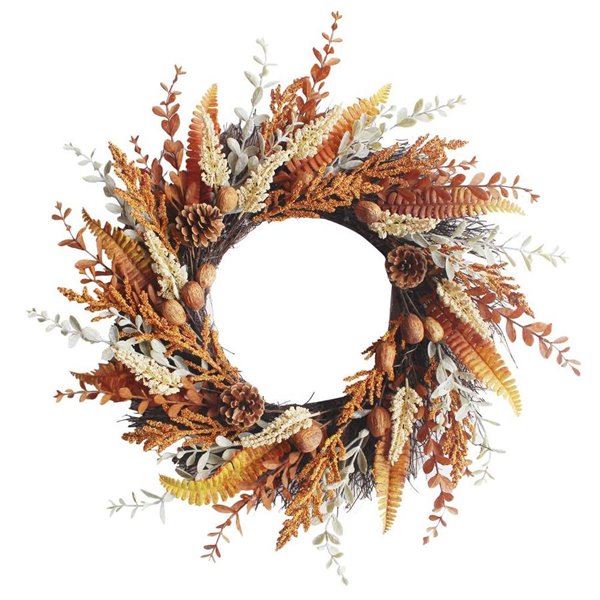
I was looking for an updated fall wreath for the front door and I couldn’t quite find what I was looking for. I was looking for something that was asymmetrical and had more muted fall tones. I had looked at Home Sense and Michaels craft store. I didn’t see exactly what I was looking for at either store, so while I was at Michaels I looked for a wreath form and some artificial flowers and decided to make my own https://www.warunkupnormal.com/.

When I was at Michaels it just so happened that the artificial flowers, ( I think all the fall items were 1/2 price actually) were 50% off. I picked out some artificially stems.

The first pieces that I found were the long pink droopy ones, then the sunflowers. From there I just walked around the flower aisles until I thought I had enough stems and I was pleased with how they all looked together. I already had the slot depo 5k craft wire at home and the wire cutters. You also need the wire cutters to cut the artificial stems as they can be quite hard to cut.

A grapevine wreath is what I was actually looking for but they didn’t have the size I wanted so I ended up getting the 24 inch wire shape instead. I think a 19 or 20 inch would have been fine as well but I couldn’t find any.

Because it was a wire wreath form, it meant I had to wire everything on instead of glue. It ended up taking me playing mahjong ways 2 about a hour and a half to do it this way. Glue on a grapevine wreath would have been much quicker. Haha.

I started by cutting the green “filler” stems in smaller pieces, Wiring them on and overlapping each new piece over the previous one just slightly.

Make sure to place each piece so that the leaves are all going in the same direction around the wreath form. I continued overlapping pieces with alternating types of greenery until most of the top half of the wreath was covered in leaves. I mixed several different types of stems throughout. Wiring each individual piece as I went.


I knew what I wanted the bottom to look like, so once I had most of the upper half finished, I started to work on the bottom. I did it this way as well because I wasn’t quite sure that I had enough supplies.
I had 2 pieces of the pink stems so I placed them first, then the green droopy pieces and then the sunflowers. Then filled in and around those with the same green stems I used around the top.

After I had the bottom looking the way I wanted, I continued to fill in the rest of the wreath, making sure as I went that I was hiding as much of the green wire wreath form as I could.
I saved several small pieces of stems to fill in any spots left at the end as well.
The very last pieces that I added were the little orange round ones since they were just to add a pop of color.


Next week I plan to share what this looks like on the spaceman, as well as some simple front porch decorations.
Thanks for stopping by. I hope this gives you a little inspiration to do a similar project of your own!
Hope everyone has a great Thanksgiving Weekend!


1 Comment
-
Comments are closed.Beautiful! You have so many talents!! Thanks fir SHARING & inspiring us!!!